Automated deployments and Beanstalk saved my sanity
When I started freelancing I didn’t worry too much about deploying code to a client environment. All I did was simply FTP up the changed files.
As Anecka started getting more projects, as well as longer-term contracts which required on-going maintenance, I noticed more and more of my time was getting sucked into figuring out what needed to be be deployed and on what server. I knew my process had to change and I need to automate my deployment tasks.
Early on my “deployment” process process was horrible. I would compile a list of files that had changed since the last time I deployed code to the client’s server, then painstakingly FTP the files up. This lead to the following problems:
- There was no reliable way to rollback a deployment
- Deploying updates to multiple servers was a pain. Keeping track of what was on stage vs. production was nearly impossible.
- There was a high degree of errors and mistakes from files not getting FTP’d or missed from my list.
- It TOOK FOREVER to deploy. Each deployment was at least an hour of work. Each project has two environments, stage and production. A lot of time we had to deploy at least three times a week.
- Deploying new updates to clients quickly was difficult. Clients couldn’t test as soon as we finished a feature because it wasn’t efficient to deploy to stage continuously.
In short, it was a disaster and I must have been sinking at least 5 hours a week into just deploying code. Something had to change.
I’ve know about Capistrano for a while, but I needed a solution immediately and Capistrano felt a little much for what I need. Also I knew it would take some time to learn, and while I know Ruby and figured in time I could figure it out I really wanted to get up and running quickly.
Fortunately a friend of mine, Ryan Battles, turned me onto Beanstalk. Beanstalk is a private, cloud-based source control repository (similar to GitHub) that supports Git, Subversion, or Mercurial. More importantly, it has a fully automated deployment system that’s perfect for people who need a solution that’s quick and easy to setup.
Using Beanstalk to setup Automated Deployments
Let me show you how to setup automated deployments in Beanstalk. First after you signup and push your repository, you can go to the “Deployments” tab.
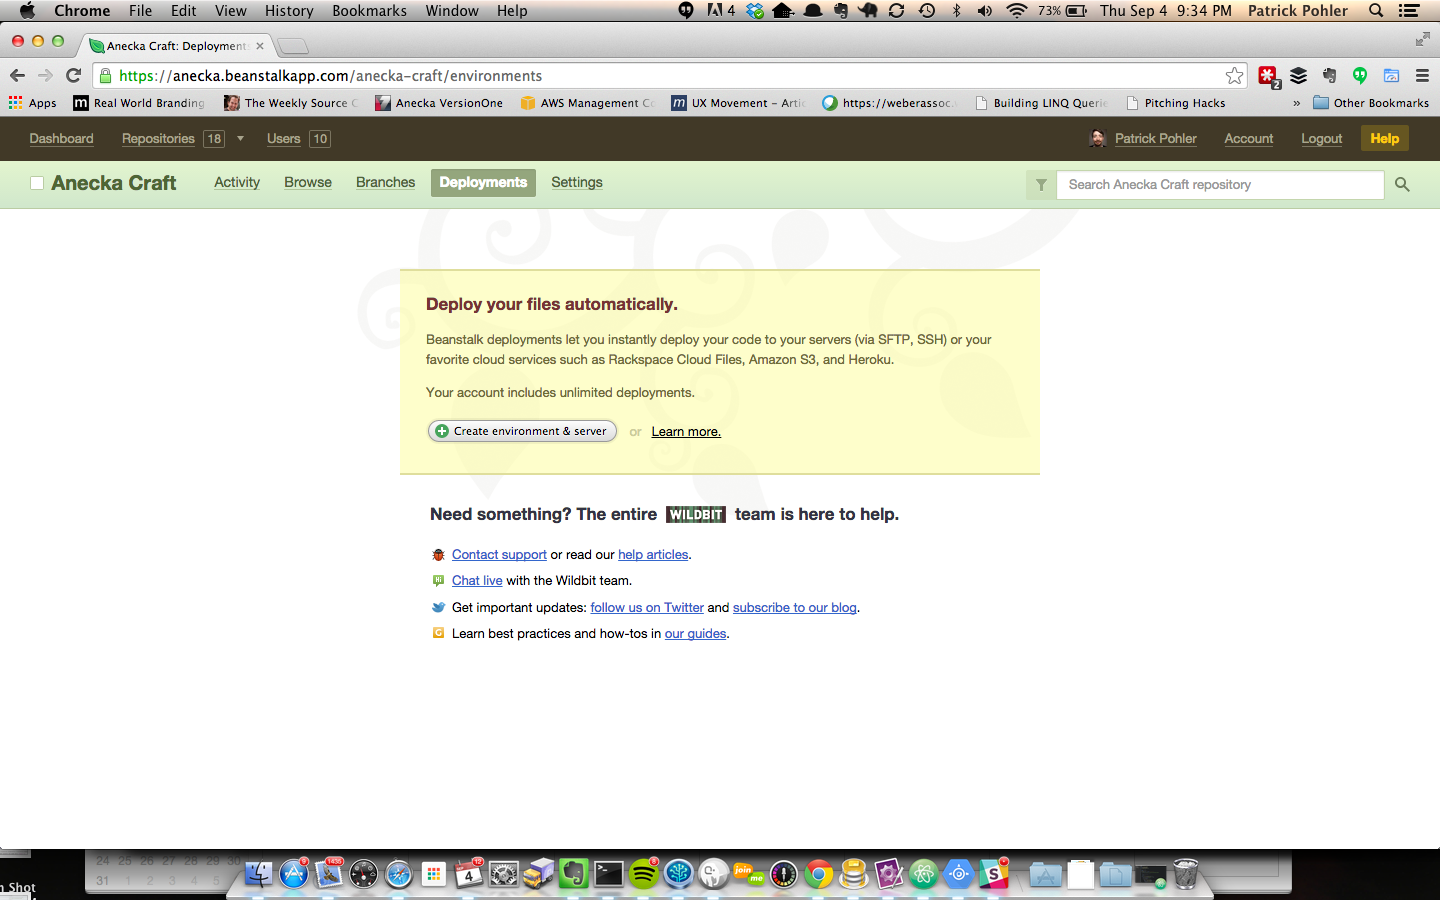
After clicking on “Create environment & server” you’ll just need to fill out info about the server you’ll be deploying to:
Environment Title: Name for your environment
Deployment Mode:
- Manual: Fires off the deployment either through the web or when you type a special “deploy” command in the commit message. Usually for production environments.
- Automatic: The deployment happens every time new code is pushed to the branch. This is great for staging or test environments
Even in Manual mode I consider it an “automated deployment” in that Beanstalk handles the actual mechanics of finding the changed files and placing them on the server.
Branch:
- This allows you to specify which branch you want to set for deploying. At Anecka we use “master” for production environments and “dev” for stage or testing
- The next step is to choose how Beanstalk will connect to your server. Beanstalk supports a wide variety of server types, including Heroku and Amazon S3.
Finally you’ll enter your connection info to you server. This is where you’ll enter your FTP credentials and server paths for your automated deployments. Once that’s filled out, click “Check Connection” to see if everything checks out.
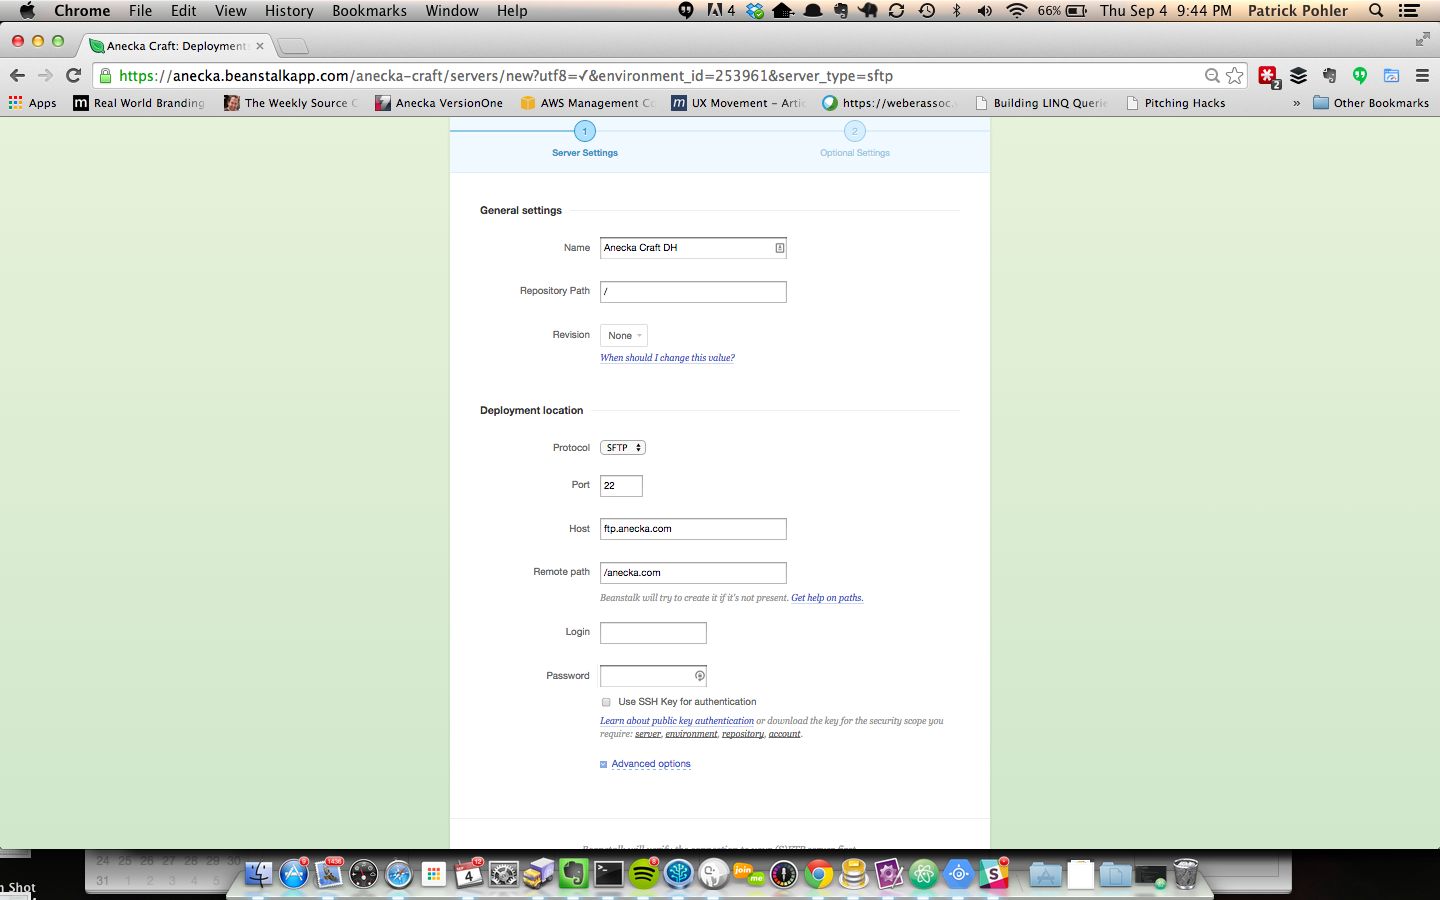
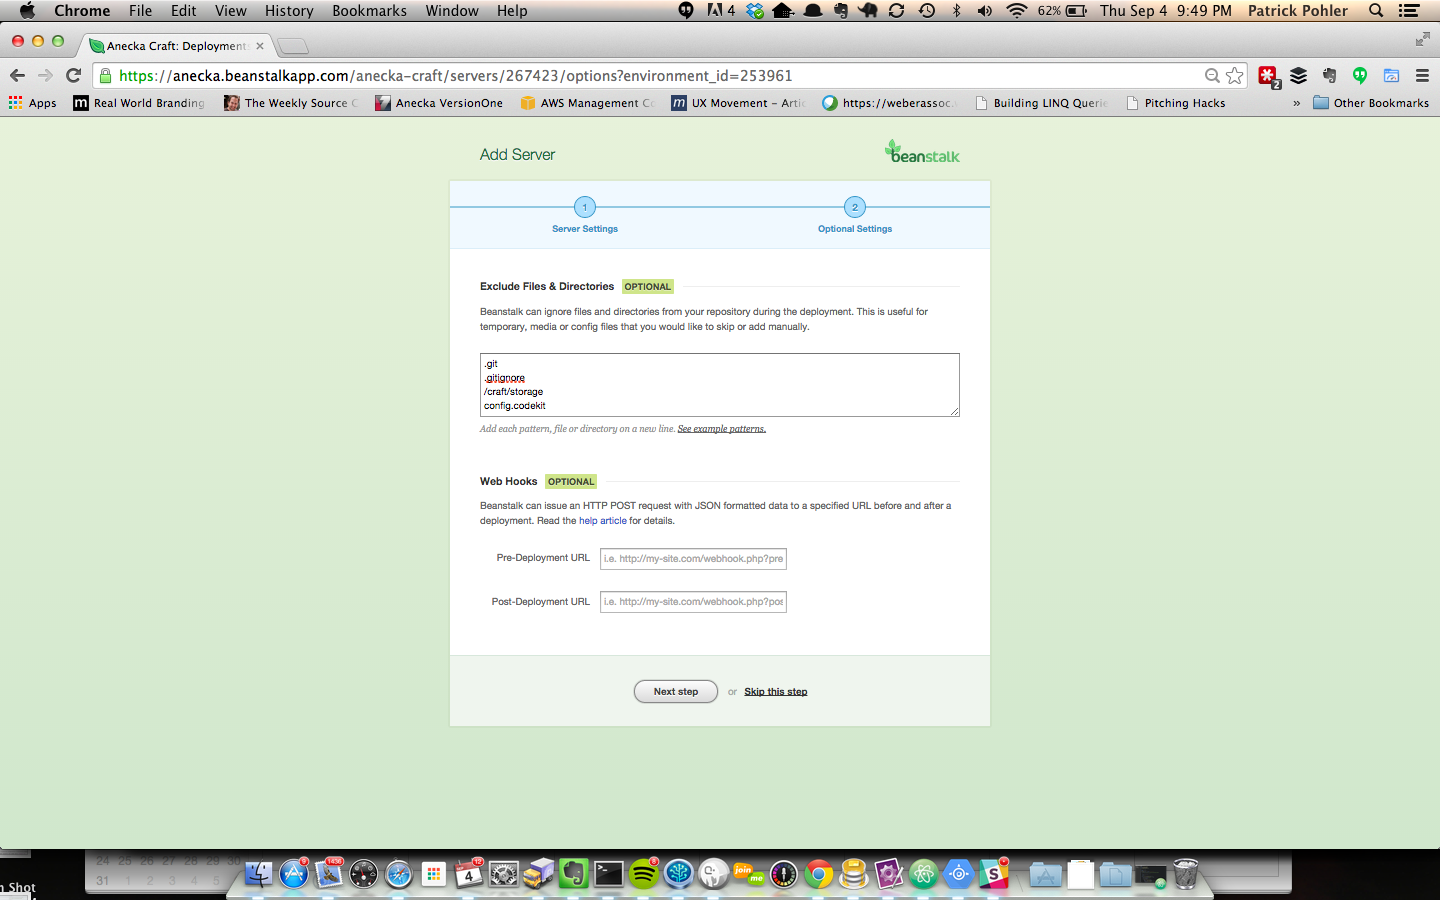
You can also specify what folders or files you want Beanstalk to ignore. I usually set this for any user uploaded directories or cache folders.
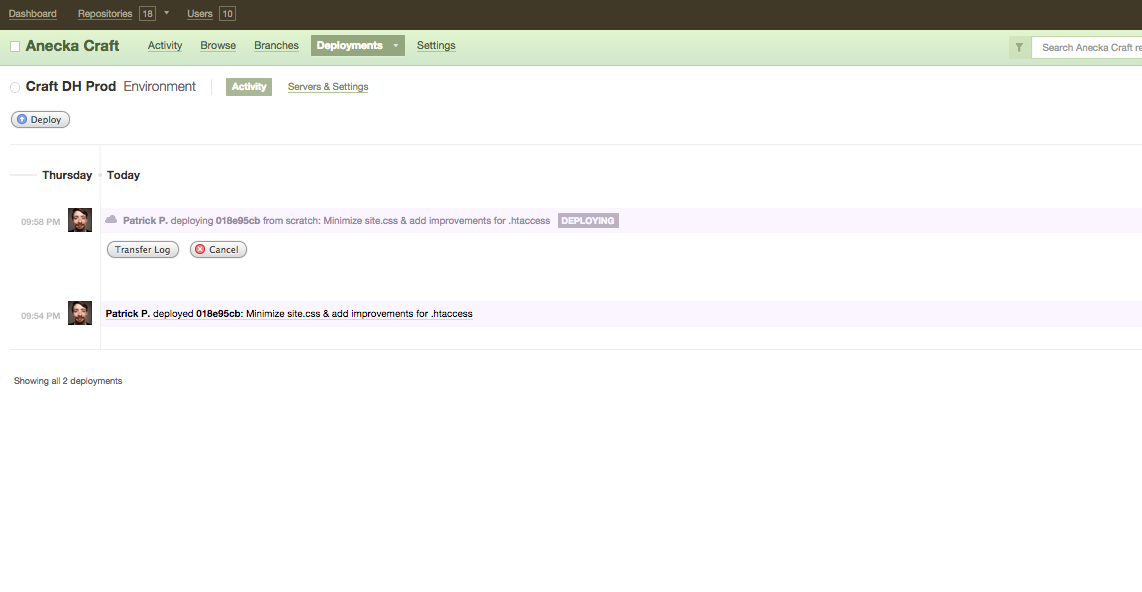
After you’re finished setting up the server, deploying is as easy as clicking on the “Deploy” button. Once you enter a deployment message and review the files Beanstalk will update your server with the latest changes you’ve pushed to Git.
Switching to automated deployments has revolutionized our process at Anecka, and it’s saved my sanity. I set automated deployments for all of our projects now, even internal ones. It takes less than ten minutes to setup and saves me nearly ten hours a week. Our clients are now able to see any updates or bug fixes on their test environments as soon as we push. Which let’s us quickly iterate on features and allows us to quickly complete tasks.
In my opinion every freelancer will immediately benefit from setting up an automated deployment system. If you have any questions, comments, or ideas of your own don’t be afraid to leave a comment!